Last week, I got together with a few friends for a Girls' Night In. We decided to go with our favorite (cheese fondue - which I will post soon) but also decided to have artichokes as well. These are two of my favorite things!
Although I love eating artichokes, they can be somewhat of a pain to make and take a fairly long time to cook. I used to boil them, but they always felt soggy and lacked flavor. Steaming kept the artichokes from getting soggy, but seemed to take longer. I love them grilled, but it is difficult to get them cooked all the way so it becomes a two step process to par cook them before you put them on the grill.
Fortunately, last summer I came a cross a new way to prepare them and I don't think I will ever go back. The original process is for baking them, but it also works great on the top rack of the grill when I don't want to heat up the house. There are a few key reasons I like this method:
- It works amazing for large amounts of artichokes because you don't have to worry about having multiple large pots
- They are completely prepped so there is little work for your guests to eat them (including cleaning the choke)
- You can add additional seasoning, sauces, and dressings to them to make them even tastier
Here is a sneak peak so you can see what I mean...

So here is how you make them. Start with your artichokes. Depending on size, you may want a whole or half per person. These were fairly large and we were stuffing ourselves with fondue so we each had a half.
Tip: When you buy artichokes, you don't want them to be dried out. You can check them by giving them a squeeze...they should squeak a little.

Cut the stems off,

and the tops.

Next, cut them in half.

This is probably the trickiest part. Use a small, thin knife and cut along the bottom of the choke to get all of the little hairs out. You will want to cut deep enough to get the choke out without cutting too many of the leaves. When you have a good slice, grab the inner leaves that are not very meaty (mostly the purple ones you see in this picture) and rip it all out.

Drizzle with about a teaspoon of oil (I like olive oil, but my friend Lauren was out so we used veggie oil),

and season with salt and pepper. At this point, I sometimes add chopped garlic and that is the complete recipe. I am skipping that step this time because I am going to show you how to make delicious Caesar artichokes instead.

Next, wrap the artichokes with two sheets of foil. I wrap the artichoke,

flip it over and wrap with the other sheet.
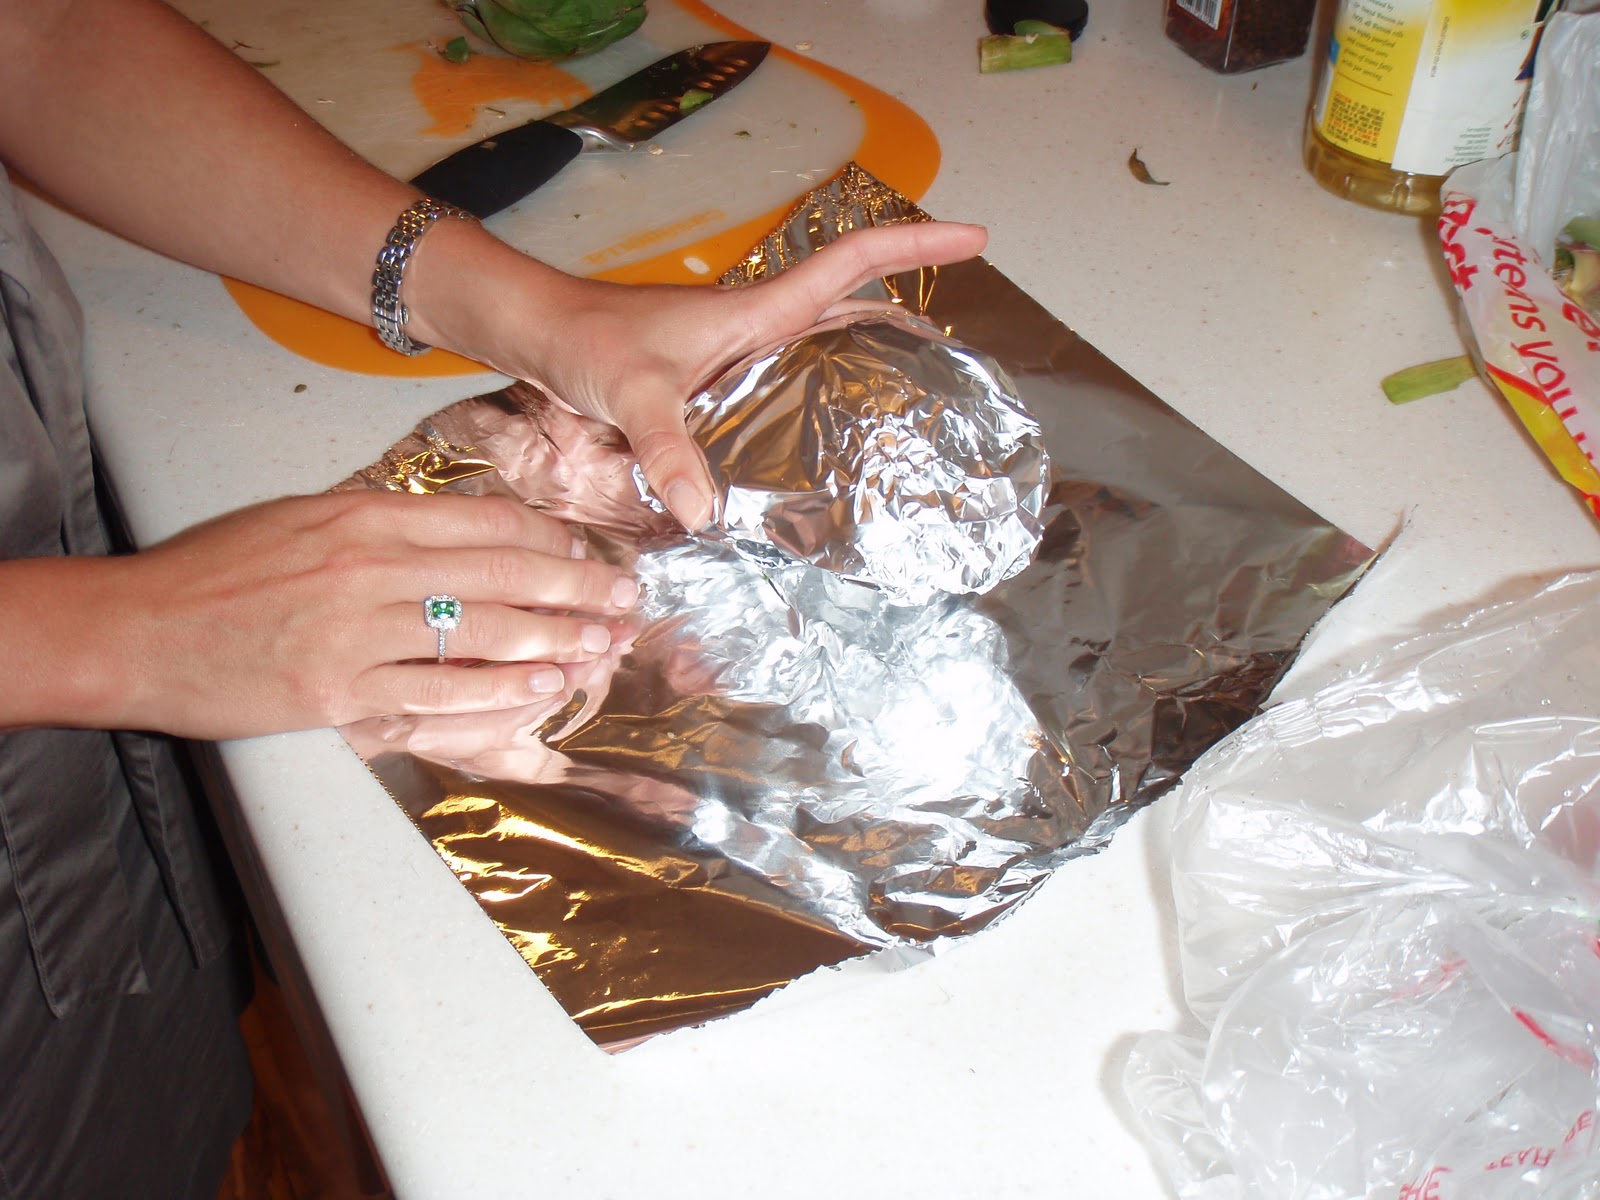
You will want to get it wrapped tight without any holes so the artichokes steam.

Into the oven they go. I bake them at 400 degrees for about 30-40 minutes or so. Since I am making the Caesar artichokes, I will take them out with 10 minutes remaining to add the last ingredients.

Now for the Caesar part of the recipe. I love this step because it makes them taste great and you can actually skip serving a dip with them.
Pull the artichokes out of the oven and pull back the foil. You will need to rewrap them so don't damage the foil.
I usually do a couple at a time so they are not sitting out too long.
Drizzle the artichokes with some Caesar dressing. I use a couple of tablespoons per artichoke.

Next, sprinkle on some chopped garlic,

and shave some Parmesan or Romano cheese on top.

Wrap them up and place them back in the oven for about 10 minutes to finish cooking.
It is a good idea to test them and take note of how close they are to being done when you are adding the final ingredients. If they are on the firm side, I will make sure to leave them in for a little longer .
It is a good idea to test them and take note of how close they are to being done when you are adding the final ingredients. If they are on the firm side, I will make sure to leave them in for a little longer .

Time for the unveiling. These will be hot so be careful when you unwrap.

I love how the dressing mixes with the fresh garlic and the cheese is melty and delicious!

This really is such a simple way to make artichokes. It works so well for a large group of people and it is wonderful to lessen the work of your guests by removing the choke. They can also be prepped ahead of time.
I hope you will give them a try and let me know what you think! Enjoy!
No comments:
Post a Comment